Friday, March 25, 2016

Installing a Secure FTP Server on Windows Server 2012 using IIS

FTP (File Transfer Protocol) is a very popular protocol that allows users to upload and download files easily. Windows Server 2012 is packed up with FTP features. You can configure FTP server in Windows Server 2012 by installing FTP server role. In this article, I will show you step by step process of installing and configuring FTP server role in Windows Server 2012.

Configure FTP Server in Windows Server 2012

At first, install the FTP server role. In Server 2012, you can install FTP server role under the IIS server role. So, let’s get started. Open Server Manager. On the menu, click Manage and click Add Roles and Features.


Click Next on Before You Begin window. Click Role-based or feature based installation and click Next.

Select the server and click Next again.
Now, expand the web server (IIS) role. Select the FTP server and click Next.
We don’t need to add any features, so click Next again. Click Finish on the Confirmation window.
After installing FTP server role, open the Internet Information Services (IIS) console. Connect to the local server. Expand the local server.
Right-click the sites and click Add FTP Site.

Now type the name for the FTP site. Configure the folder where the files will be stored. Create some files in the folder for test purpose. I will create a file and a folder. These files will be accessed via FTP client by users. Now click Next

Configure the IP address of this server. The IP address must match the address configured in the network adapter of this server. This IP address will be used by client to access the FTP server. Check the start FTP site automatically. Choose No SSL and click Next.
Choose Basic for authentication. Basic authentication doesn’t use encryption mechanism so username/password are sent in clear text. By default, basic authentication matches username/password from Active Directory database or you can create user accounts in IIS. You can create users in IIS after installing Management Server under Management Tools which is in Web Server (IIS) role. Under authorization, selectall users to allow FTP access to all users of the domain. Check both read and write under permissions.
Now browse FTP server from the client machine. Type the IP address on the browser as ftp://192.168.1.1/. It will show the following page.
Browse FTP

Now, press ALT key in you keyboard which will show the menu bar. Then click View and click Open FTP site in File Explorer.
Open FTP in Explorer
Now the FTP server will ask for username and password. Enter the username and password which was created in AD Users and Computers. Then click Log On. Here, I had already created username called JCorner in active directory.
After clicking the Log On button you can see the files in the FTP server.
You can see the file and folder in the FTP server. You can also use FTP client like, FileZilla to access the FTP server from client machine. So, this is how you install and configure FTP server.

Thursday, March 24, 2016

Windows Server 2012 Step by Step Installation Guide

Installing Windows Server 2012 (step by step)


Windows Server 2012, codenamed “Windows Server 8″, is the sixth release of Windows Server. It is the server version of Windows 8 and succeeds Windows Server 2008 R2. Two pre-release versions, a developer preview and a beta version, were released during development. The software was generally available to customers starting on September 4, 2012.
In this easy step by step guide, we will learn how to install and activate Windows Server 2012.
Before you start make sure you have the minimum requirements to install Windows Server (Windows Server Requirements):
Processor: Minimum: 1.4 GHz 64-bit processor
Ram: Minimum: 512 MB
Disk Space: Minimum: 32 GB
Other requirements:
  • DVD drive
  • Super VGA (800 x 600) or higher-resolution monitor
  • Keyboard and Microsoft® mouse (or other compatible pointing device)
  • Internet access
 You can then download the evaluation copy of Windows Server 2012 from here, Download the ISO and burn it to some DVD:

Now that we have everything we need, We can Start:
1- Insert the Windows Server 2012 DVD, and once you get the following message press Enter to boot from the setup
2- Wait for a while till the setup loads all necessary files (Depending on your machine, it will take couple of minutes)
 3- Once the setup files are loaded, the setup will start with the following screen. You can change these to meet your needs (the default values should be fine for now)
 4- Once you click Next, you can start the installation, click “Install now”
5- You will see the following screen, wait until it finishes loading
6- In the following setup screen, you will see four options. Select Windows Server 2012 DataCenter Evaluation (Server With GUI).
7- After you click Next from previous screen, Read the License terms, tick the “I accept the license terms” and click Next
8- Now It will ask you for the drive (or partition) you want to install Windows on. Here I’m installing it on the one partition I have here. NOTE: This will remove the content of the partition. Either you create a partition to install windows on, or you can test this on a testing machine
9- Now once we picked our partition, clicking on next from previous screen will start the setup. This process might take a while.
10- Once the setup is done, it will restart and start your Windows Server 2012 for the first time. It will ask you then to set up a password for the Administrator user
11- The setup will finalize your settings, might take a couple of minutes

12- Once the setup is done, you can log in for the first time to your Windows Server, as the screen says, press Ctrl+Alt+Delete to log in, and use the password you set in the setup process
13 – Once you Log in, Windows Server 2012 will show the Server Manager

 Congratulations! you have now Windows server 2012 Installed with Datacenter. 

Wednesday, March 23, 2016

How to Setup and Configure DNS in Windows Server 2012

Setting up a Domain Name System (DNS) on Windows Server involves installing the DNS Server Role. This tutorial will walk you through the DNS installation and configuration process in Windows Server 2012.

Microsoft Windows Server 2012 is a powerful server operating system capable of many different roles and functions. However, to prevent overloading production servers with features and options that are never used, Windows Server provides a modular approach in which the administrator manually installs the services needed. To setup and configure DNS, one must install the DNS Server Role on Windows Server 2012. 
Install DNS Server Role in Server 2012
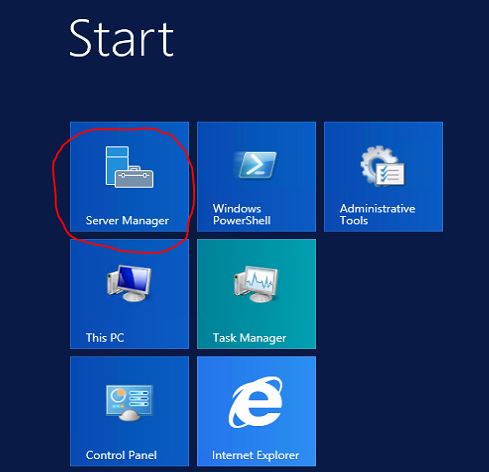
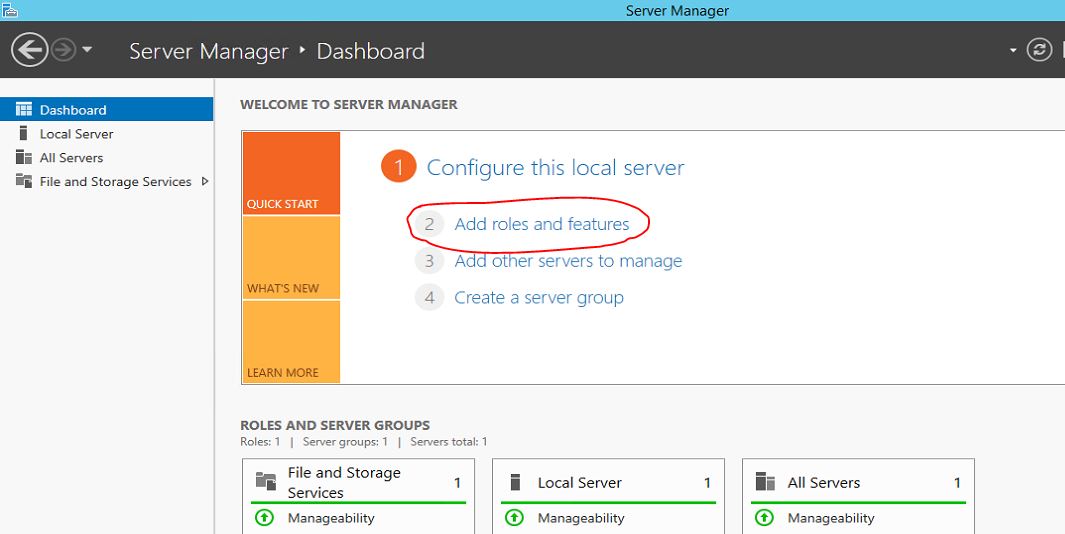
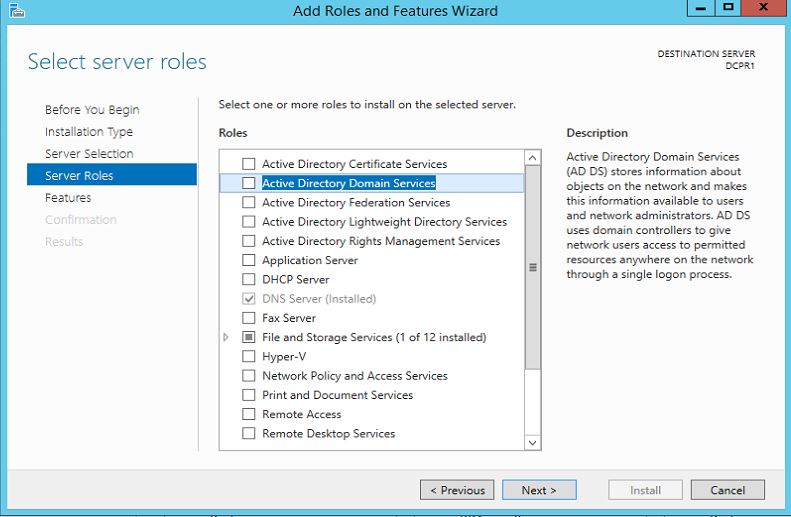
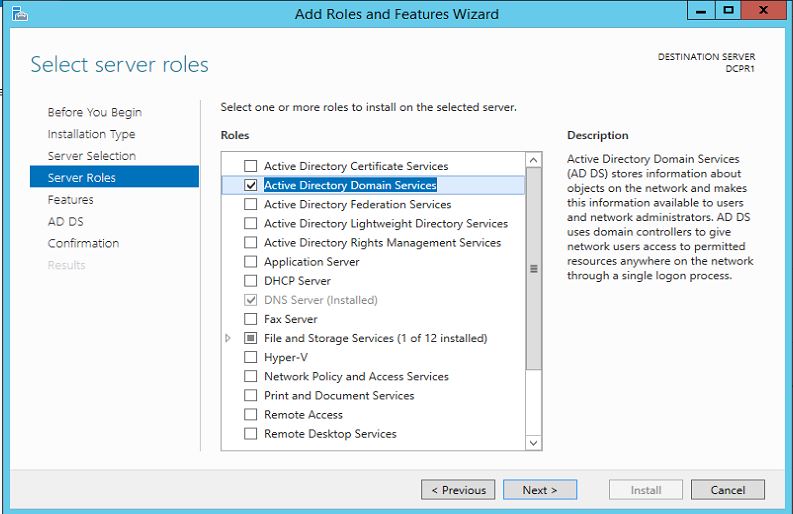
To add a new role to Windows Server 2012, you use Server Manager. Start Server Manager, click the Manage menu, and then select Add Roles and Features.
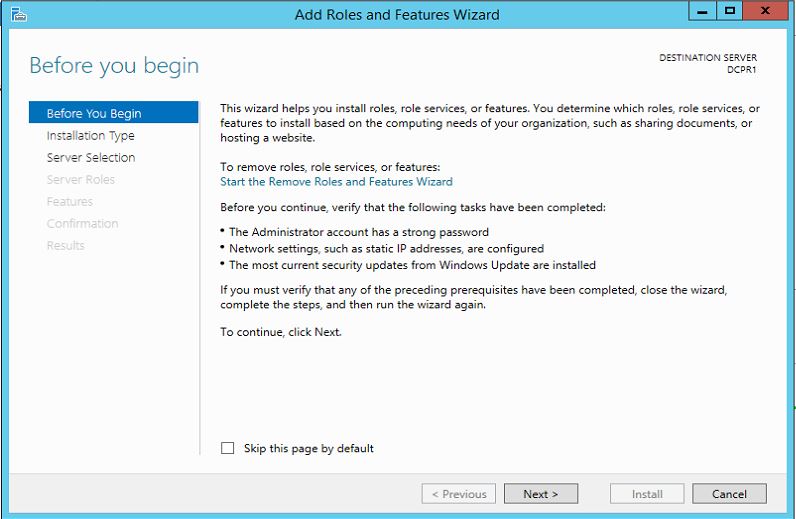
Click Next on the Add Roles and Features Wizard Before you begin window that pops up. (If you checked Skip this page by default sometime in the past, that page will, of course, not appear.)

Now, it's time to select the installation type. For DNS Servers
. You will be selecting the Role-based or feature-based installation.

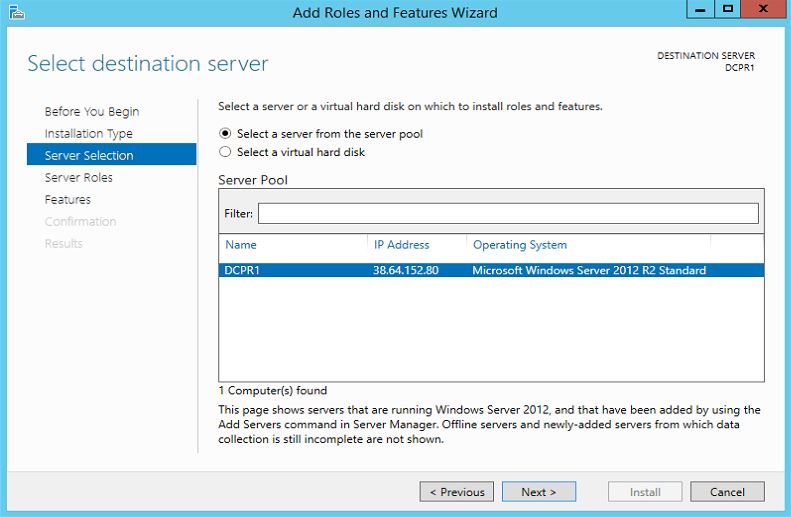
Next, you will choose which server you want to install the DNS server role on from the server pool. Select the server you want, and click next.

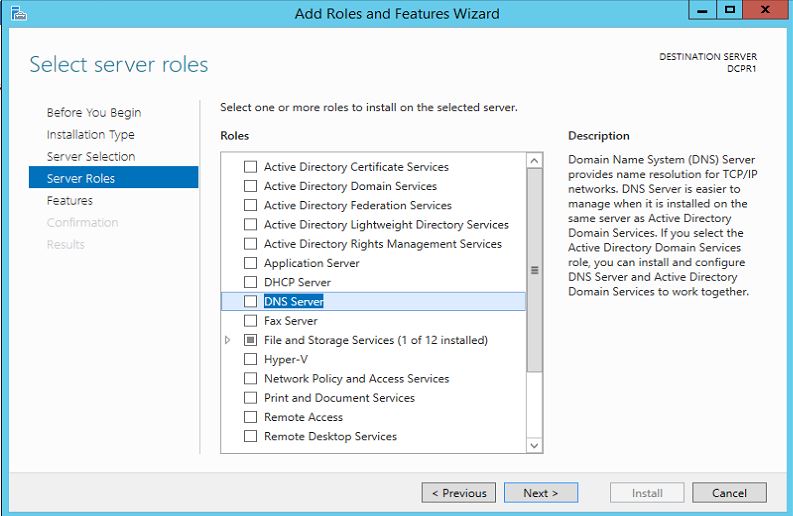
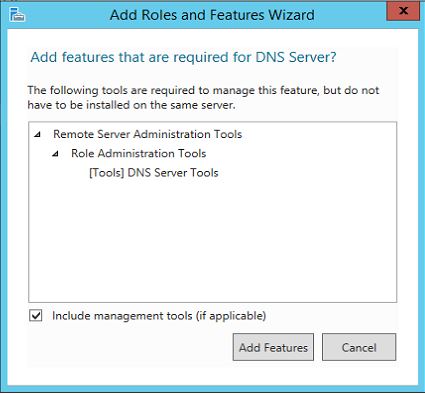
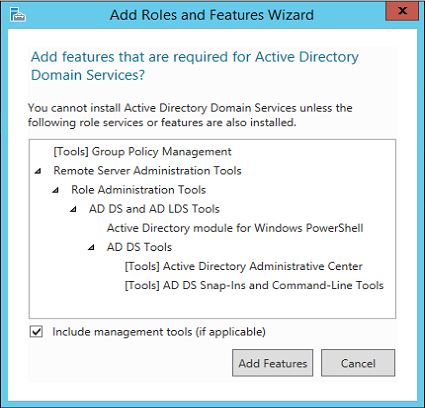
At this point, you will see a pop-up window informing you that some additional tools are required to manage the DNS Server. These tools do not necessarily have to be installed on the same server you are installing the DNS role on. If your organization only does remote administration, you do not have to install the DNS Server Tools.
However, in a crunch you may find yourself sitting at the server console or remotely using the console and needing to manage the DNS Server directly. In this case, you will wish you had the tools installed locally. Unless your company policy forbids it, it is typically prudent to install the management tools on the server where the DNS will be housed.


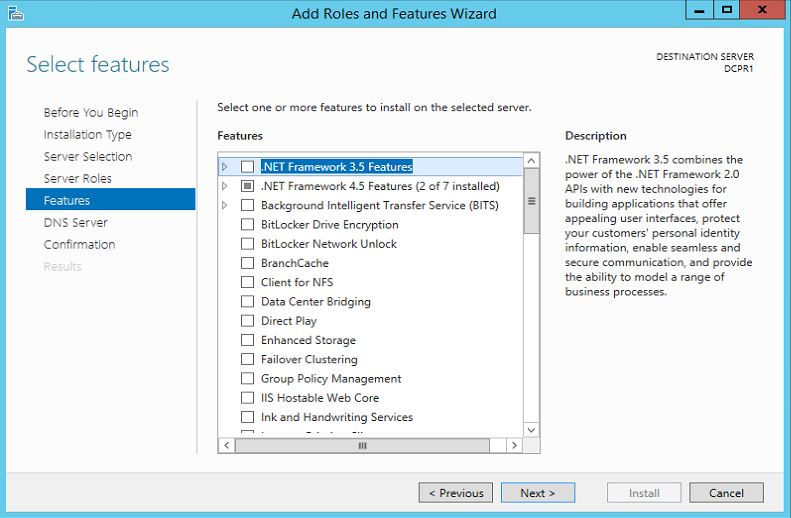
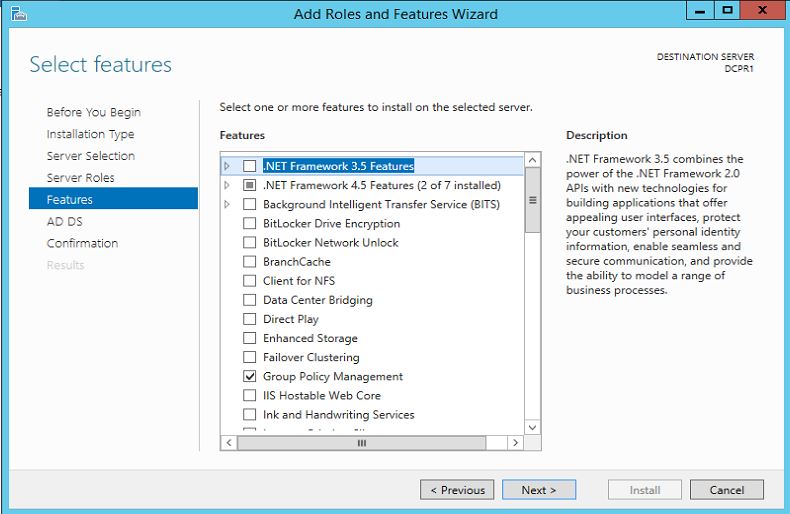
Now you should see the Features window. No need to make any changes here; just click Next.

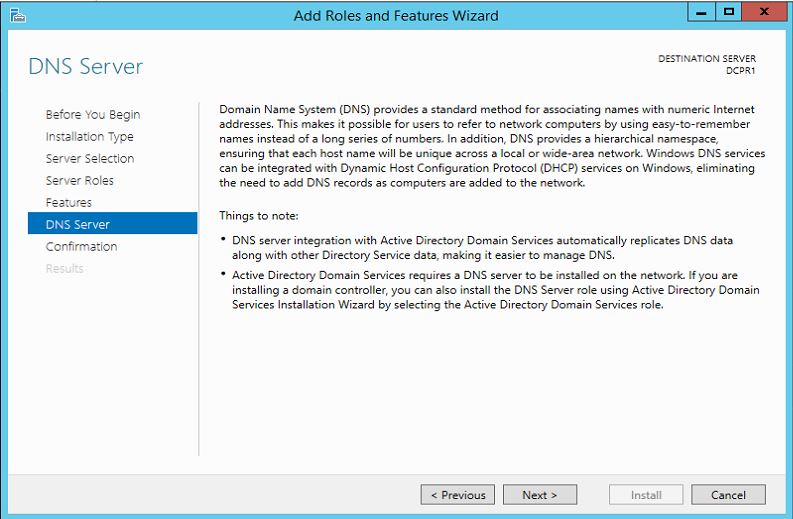
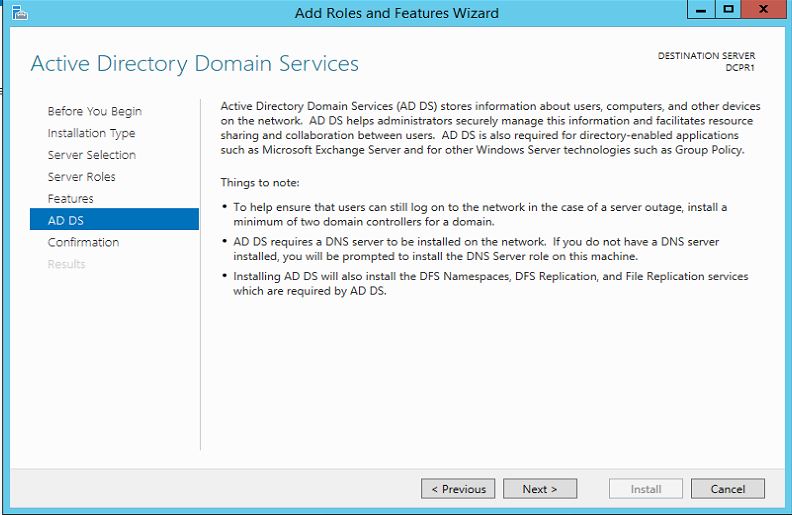
Next is an informational window about DNS Server and what it does, although one would assume that if you've gotten this far, you are already aware of what it is. Click Next to move on.

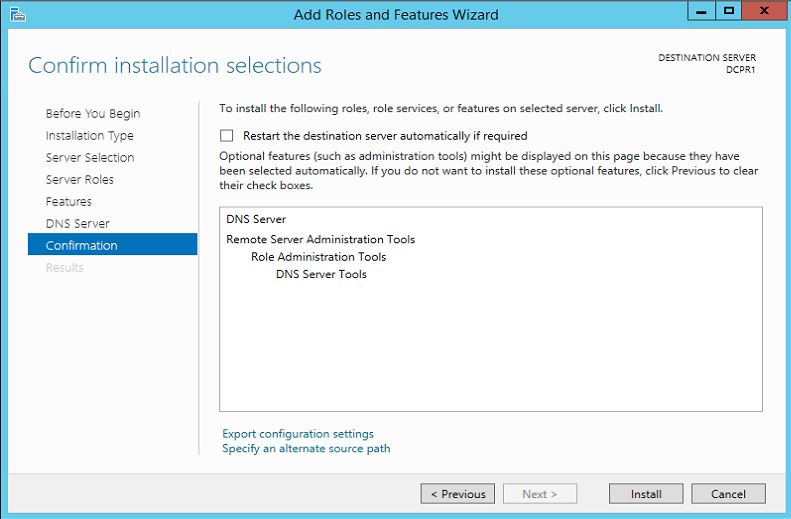
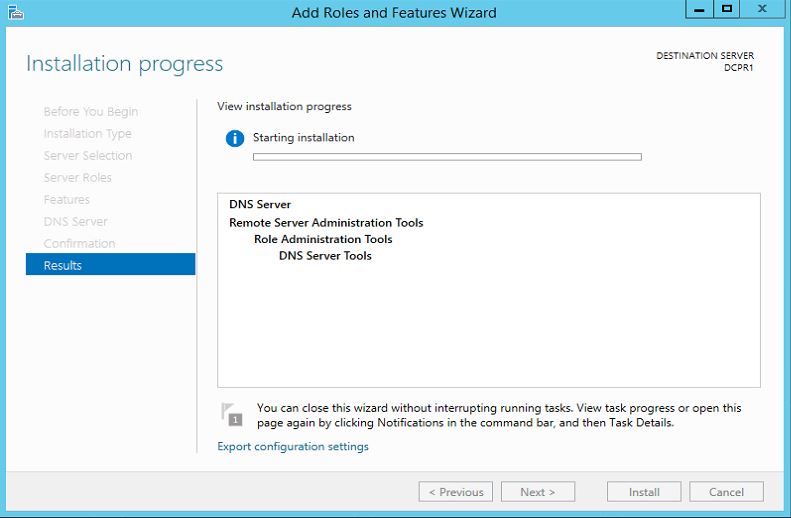
This is the final confirmation screen before installation completes. You can check the box to Restart the destination server automatically, if you like. Installing the DNS Server does not require a restart, but unless you've planned for the downtime, keep that box unchecked, just in case.

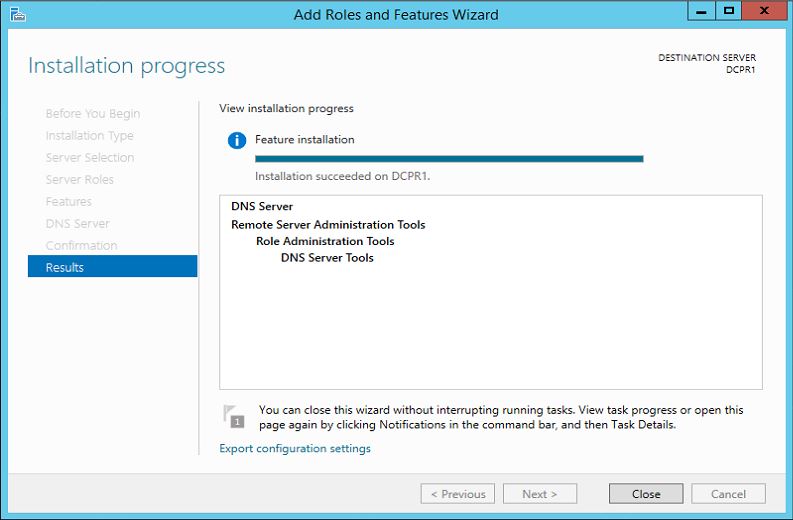
The DNS Server role should now be installed on your server. There should be a new DNS Role tile in your Server Manager.


Configure DNS Server in Server 2012
If you are an old pro with DNS server files, Windows Server 2012 does let you edit the files directly. However, Microsoft recommends that you use the interface tools to avoid errors, especially if you are integrating DNS with Active Directory.
If you want to use the command line to configure your DNS, use the dnscmd command. For those of us who don't memorize TechNet for fun, a few clicks is all it takes.

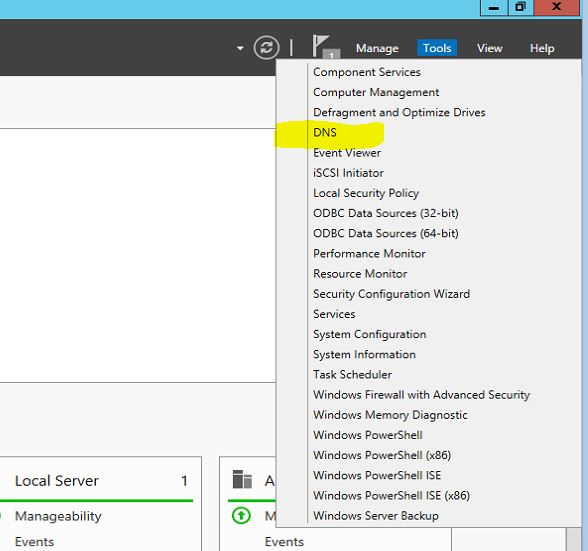
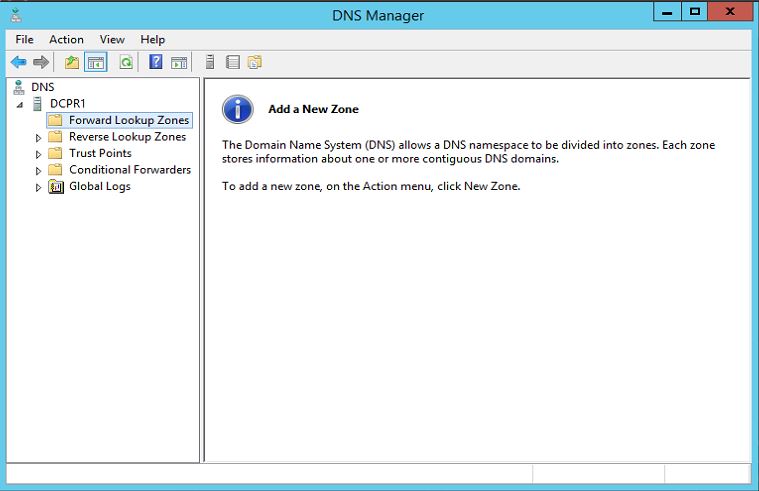
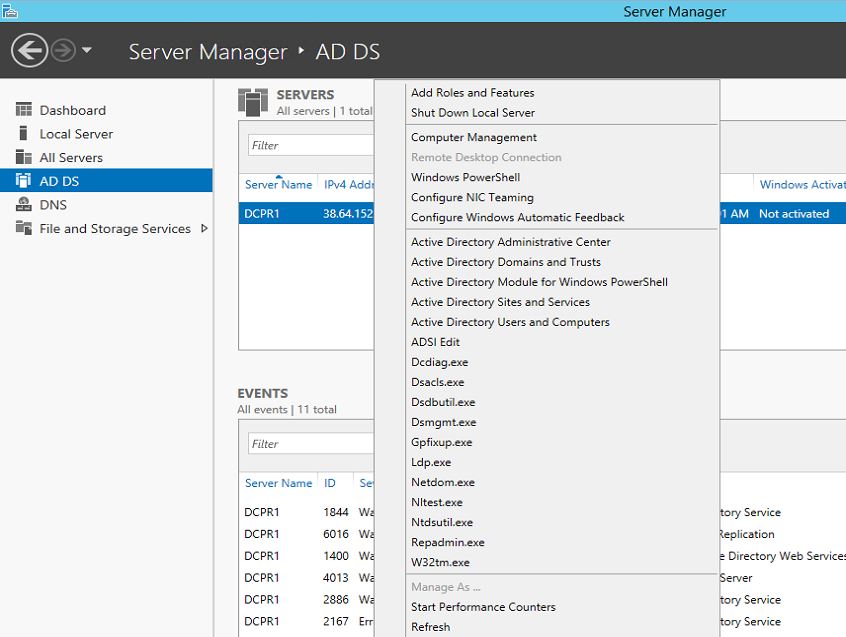
Within Server Manager, to configure the DNS Server, click the Tools menu and select DNS. This brings up the DNS Manager window.
We need to configure how the DNS server will work before adding any actual records. Select the DNS server to manage, then click the Action menu, and select Configure a DNS Server. This brings up the Configure a DNS Server wizard.
There are three options here. You can either: configure a forward lookup zone only, create forward and reverse lookup zone, or configure root hints only.

A forward lookup zone allows you to do the standard DNS function of taking a name and resolving it into an IP address.
A reverse lookup zone allows you to do the opposite, taking an IP address and finding its name. For example, if a user is set up to print to a printer with an IP address of 10.20.12.114, but you need to know what name that printer goes by so you can find it, a reverse lookup can help. ("Ah, hah! It's you Third Floor Vending Room Printer #1. Why you give me so much trouble?)
Root hints only will not create a database of name records for lookups, but rather will just have the IP addresses of other DNS servers where records can be found. If you already have DNS setup on your network, you'll probably want to continue using the same configuration you already have. If not, use forward and backward for most situations. (Backup zones typically don't hurt anything, and they are nice to have when the need arises.)

After you've made your section, click Next.

Now, you choose whether this server will maintain the zone, or if this server will have a read-only copy of the DNS records from another server.

Next enter your zone name. If this is your first DNS server, then this needs to be the root zone name for your entire organization. For example, my zone name might be arcticllama.com. If however, this server will be authoritative only for a subset, and other DNS servers will be responsible for other zones, then the name will need to reflect that. For example, us.arcticllama.com would be the zone name for just the American part of my vast corporate empire :) Click next when you have entered the name. 

Now, you need to choose the file name where the DNS records will be stored. The default filename is to add a .dns extension to the name of the zone you chose in the previous window. Unless you have a corporate policy stating otherwise, stick with the convention to make things easier on yourself down the line. 

Next you select how this server will respond to Dynamic Updates. Although there are three choices here, only two should actually be used in production. Select the first option to allow only secure dynamic updates if you are integrating your DNS with Active Directory. Select do not allow dynamic updates if your DNS is not integrated with Active Directory and you don't want to allow dynamic updates. Do not allow unsecured dynamic updates unless you really know what you are doing and have a very good reason for doing so. 

Up next is the option to configure forwarders. If your DNS server ever gets a query for which it has no record, it can forward that request on to another DNS server to see if it has the answer.


For example, in order to provide name resolution for internet connectivity, you can input your ISP name servers here, or use a DNS provider such as OpenDNS. You can (and should) have more than one server listed in case a DNS server is unreachable for some reason. The order forwarders are listed in is the order they are tried, so place your faster and most reliable forwarder at the top of the list. 

Click Next and your DNS server is now configured and ready for use.

Active Directory Domain Service Instillation Step by Step on Windows Server 2012

STEP BY STEP GUIDE TO SETUP ACTIVE DIRECTORY ON WINDOWS SERVER 2012

This tutorial will explain how to install AD on server 2012 R2.
Requirement:
Minimum: 1.4 Ghz 64-bit processor
Minimum: 512 MB RAM
Minimum: 32 GB or greater
The first step is to get server 2012 install on a server. it is very similar to server 2008 install and in one of my previous posts i have discribe how to do the install in details.
1
Next thing we need to do is get network interfaces configured. it is obvious to use static ip address for the server. Since the server will be act as DNS server, for DNS server field you can use local host address 127.0.0.1
2
It is recommend to use meaning full name as the server name. in demo i renamed it as "DCPR1"
3
After this we are ready to start on the AD install. As per my next step i will start DNS role install first. This is not must to do, you also can install dns during the AD install. But as per best practice i always prefer to add DNS role first.
To do this we need to start "Server Manager" it can opne using shortcut on task bar or from Start > Server Manager
4
Then in Server Manager window click on option "Add roles and features" option.
5
Then it will load the "Add Role Wizard", Click next to continue
6
In next window keep "Role-based or feature-based installation" default selection and click on next.
7
In next window we can select which server to install role. in our case it will be local. so keep the default selection and click on next.
8
In next window it give option to select the roles. select the "DNS Server" and click on box to tick it.
9
Then it will prompt window to inform about the related additional features which DNS role need. click on "Add features" to continue.
10
In next window it gives option to select any additional feature, but in here i will keep it default. click on next to continue
11
Then it will give brief introduction about the DNS role, click on next button to continue
12
In next window it will give details about the selected features and click on "Install" to begin the installation
13
Then it will begin the installation and we need to wait till it completes.
14
Once its completes click on close.
15
Then you can access DNS server using server manager > tools > DNS
16

17
Now we have every thing ready for AD install. so lets load server manager again and click on "Add roles and features"
5
Then it will load the "Add roles and features" wizard. click on next to continue.
6
In next window keep "Role-based or feature-based installation" default selection and click on next.
7
In next window we can select which server to install role. in our case it will be local. so keep the default selection and click on next.
8
In next window it gives option to select the roles. select and click on tick box "Active Directory Domain Services"
dc1
Then it will prompt window to indicate the additional feature installations related to selected role. click on "Add Features" to continue.
dc3
Then in next window click on next to continue
dc4
In next window it will give option to select addtional feature to install. but i will keep the default selection. click next to install.
dc5
In next window it give brief description about the AD service. click on next to continue.
dc6
In next window it gives brief about the installation. click on "install" to start the installation.
dc7
In next window it will begins the service install and we have to wait till it finish.
dc8
Once it finish click on "close" to exit from the wizard. then next step is to reboot the server to complete the installation.
dc9
After that completes we need to start on the DC setup. to start that open the "Server Manager" and click Task flag on right hand corner. then it will list option as below picture. click on "promote this server to a domain controller" option ( highlighted with yellow in picture)
c1
Then it starts the DCPROMO wizard. on the first window since its going to be new forest i have selected option "Add a new forest" and i typed the domain name "contoso.com" which i will be using on the forest. once fill the info click on "next" to continue.
c2
In next window we can select the forest and domain functional levels. i will keep it default. then in domain controller capabilities its by default selected DNS server and Global Catalog as its first DC in the forest. then we need to defined password to use in DC recovery. click on next to continue.
c3
In next window it will give following error but it can be ignore. click on next to continue.
c4
c5
In next window it ask for the netbios name. we can keep it default and click on next to continue.
c6
In next window it give option to change file paths for AD database, log files and SYSVOL files. we can change the paths or keep them defaults. once changes are done click on next to continue.
c7
In next window it gives description about the installation. click on next to continue.
c8
In next window it will run system check and verify system is compatible with the selected installation. once test completes successfully click on install button to begin the installation. if its passes any critical errors those needs to be address before the installation begin.
c9
then it will start the install and we need to wait till it finishes.
c10
Once its complete the install it will automatically reboot the server.
Once server is rebooted log in to server using domain admin credentials.
In our demo it will be in format of
user : contoso\Administrator
password : XXXXXXXXX
Once login, load the "Server manager" and click on "AD DS" option in right hand list. then select and right click as showed in screenshot to start with AD configuration.
c11
Now we successfully completed with the DC setup on server 2012 R2.